In this guide · 9 practical sections
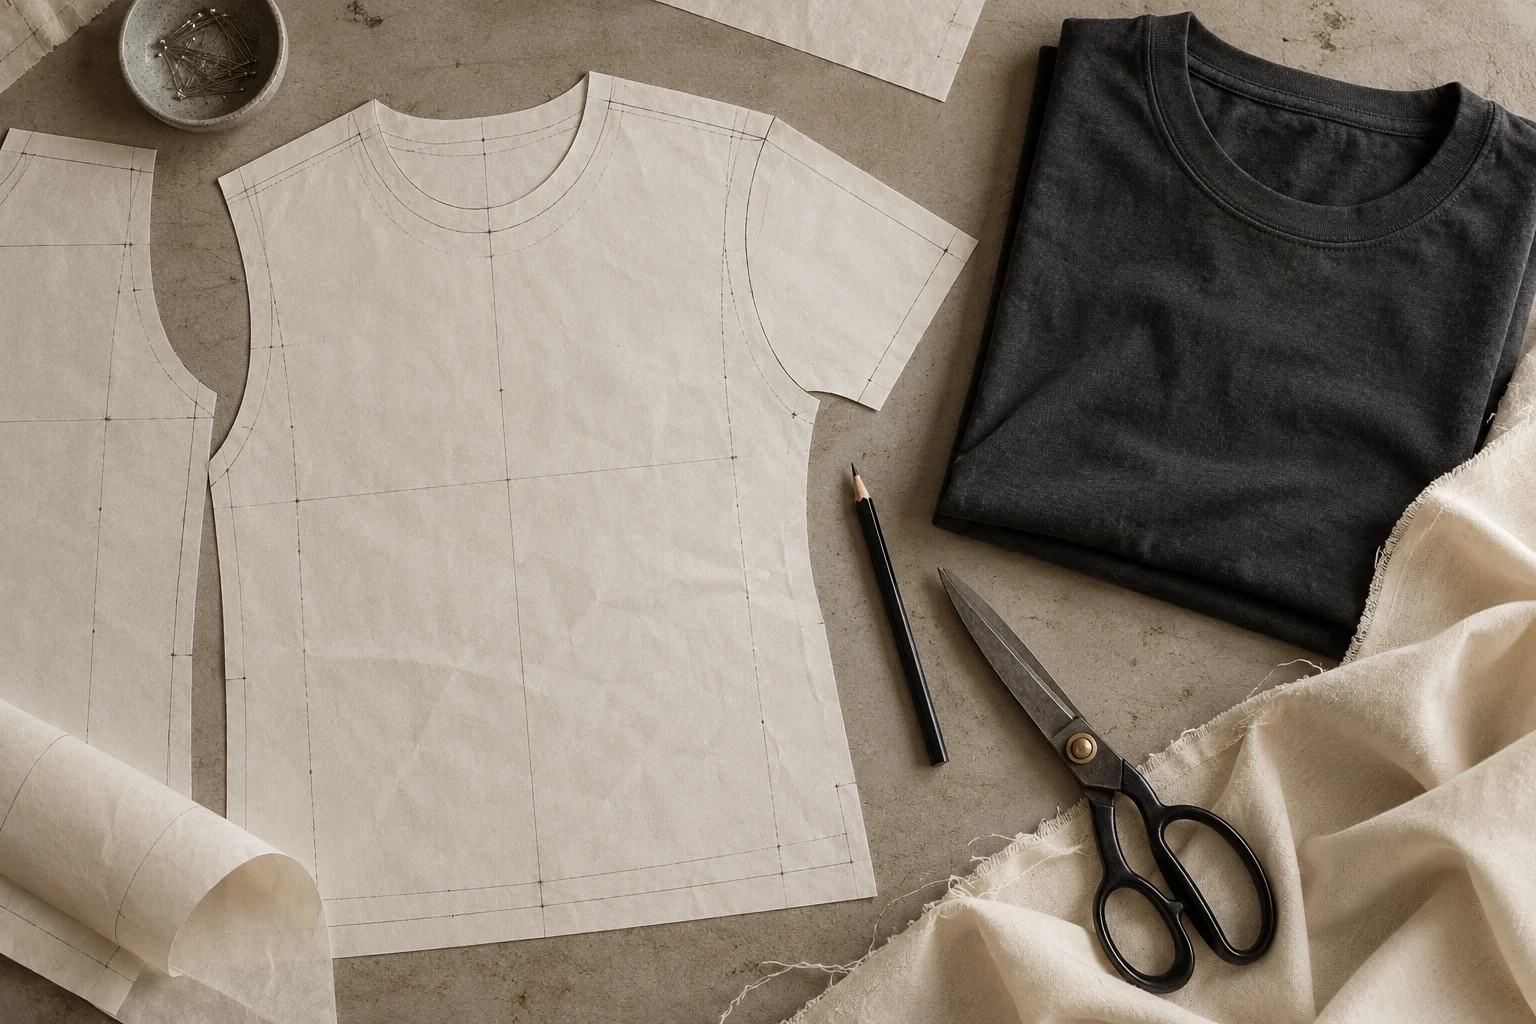
Start with the base size
Define a base size, fit intention and finished garment measurements. A body chart describes the person; a garment chart includes ease and construction choices. Supply a fit reference if possible and identify the parts you want to retain or change. The first pattern is tested through a sample, not assumed correct.
Grading is more than scaling
Different measurement points grow at different rates. Neck width, shoulder, body length and sleeve opening do not necessarily share one grade increment. Check the smallest and largest sizes and consider how movement and proportions change across the range. Size labels alone do not define a grading system.
Account for material behaviour
Patterns need to reflect stretch direction, recovery, shrinkage, nap, stripe alignment and usable fabric width. Woven and knitted materials require different handling. Shrinkage allowance must follow a relevant test and an agreed finished measurement target; a general percentage is only a planning assumption.
Check repeatability before bulk cutting
Review seam allowances, notches, grainlines, mirrored pieces and cutting instructions. Match the approved pattern to the correct file revision. A marker layout is a separate cutting task used to arrange pieces efficiently; product weight cannot replace a production marker calculation.
Body measurements and garment measurements are different
A size label alone cannot define fit. State whether each value measures the body or the finished garment, then specify ease, measurement method and the sample size. A half-chest measured flat is not a body circumference. Give points of measure clear codes, diagrams and tolerances. Approve a base-size fit before assuming that adding the same amount everywhere creates a suitable size range.
Shrinkage allowance starts with a test, not a guess
Record measurements before and after the agreed wash and drying procedure, including length and width separately. If the intended after-wash length is 70 cm and measured shrinkage is 5%, the illustrative before-wash target is 70 ÷ 0.95 = 73.68 cm, not simply 70 plus 5%. The pattern maker must confirm how fabric relaxation, construction and finishing affect that result. Test again after changing fabric or finish.
Define how you measure, then compare.
| Point of measure | Example measuring method to agree | Common ambiguity |
|---|---|---|
| Half chest | Flat across the body at a defined distance below the armhole | Half width confused with full circumference |
| HPS body length | From the agreed high shoulder point to the finished hem | Neck rib or hem excluded by one party |
| Shoulder width | Between defined shoulder seam points, garment relaxed | Drop-shoulder construction not identified |
| Sleeve length | From the defined shoulder seam to the finished sleeve edge | Shoulder point or cuff inclusion differs |
| Waist relaxed | Flat waistband without extension | Relaxed confused with stretched dimension |
| Waist stretched | Under a specified extension method / force | Uncontrolled pulling gives inconsistent values |
| Hip | At a stated distance below the waistband | Measurement height not written |
| Front / back rise | Along the specified seam from crotch to waistband edge | Waistband inclusion differs |
| Thigh | At a stated distance below crotch | Reference distance is missing |
| Inseam | Along the inside seam from crotch to finished leg edge | Cuff included by one measurer only |
| Leg opening | Flat width at the finished opening | Circumference confused with flat width |
| Neck opening | State width/depth points and relaxed condition | Rib edge and seam line used interchangeably |
Calculate a shrinkage allowance from a target.
Pre-process target = finished target ÷ (1 − shrinkage/100). Apply separately by direction. Pattern allowances must be validated on the actual fabric and process.
A grading review, step by step
| Stage | Review question | Record |
|---|---|---|
| Base size | Does the approved sample match the intended wearer and fit? | Sample ID, actual POM, target POM |
| Grade increments | Are increments appropriate to each measurement? | Increment per POM and size step |
| Range extremes | Do smallest and largest sizes preserve proportion and movement? | Size-set results and revisions |
| Fabric behaviour | Will stretch, relaxation or wash change the range? | Test reference and pattern allowance |
| Final release | Are all files using the same revision? | Controlled pattern and tech pack revision |
Questions, answered
Do I need a different pattern for every size?
A base pattern is normally graded into the size range. The increments must be appropriate to the garment and the target fit.
Does the online cost tool calculate marker efficiency?
No. It uses finished garment weight and a fixed waste allowance for an accessible estimate. The factory must verify real consumption.
Is the chest measurement half or full circumference?
Specify it. A flat half-chest dimension and a full circumference are different values and methods.
Should waistband height include the seam allowance?
Finished measurements normally describe the assembled garment. Clearly state whether a measurement includes attached rib, waistband or other components.
How much ease should I add?
There is no universal amount. Body size, silhouette, stretch and wearer activity determine the appropriate ease; validate it through fit sampling.
Can I add the same shrinkage allowance to length and width?
Only if the relevant tests support it. Different directions can change by different amounts.
Will adding 2% exactly compensate for 2% shrinkage?
Not exactly. To target a final dimension, divide by 1 minus the shrinkage fraction. The allowance calculator shows the difference.
Should I provide my customer’s body size or a finished garment size?
Label each measurement clearly. Pattern development needs the intended body range, ease and finished-garment measurements with methods and tolerances. A flat half-width and a body circumference are different values.
Should I add 5% to the pattern if fabric shrinks 5%?
Not as a universal rule. The simple illustrative compensation is target after-wash dimension divided by 0.95. Validate the actual wash method, direction of change, relaxation and garment construction with the pattern maker.